12. AWS GPU Instance Set Up
Note: If you decided to use the Udacity GPU Workspace, you could safely skip this part!
AWS Setup
Now, you have created an AWS account and requested a limit increase, let us move forward.
Create and Launch an EC2 instance
1. Open your AWS Console
2. Select Services > Compute > EC2
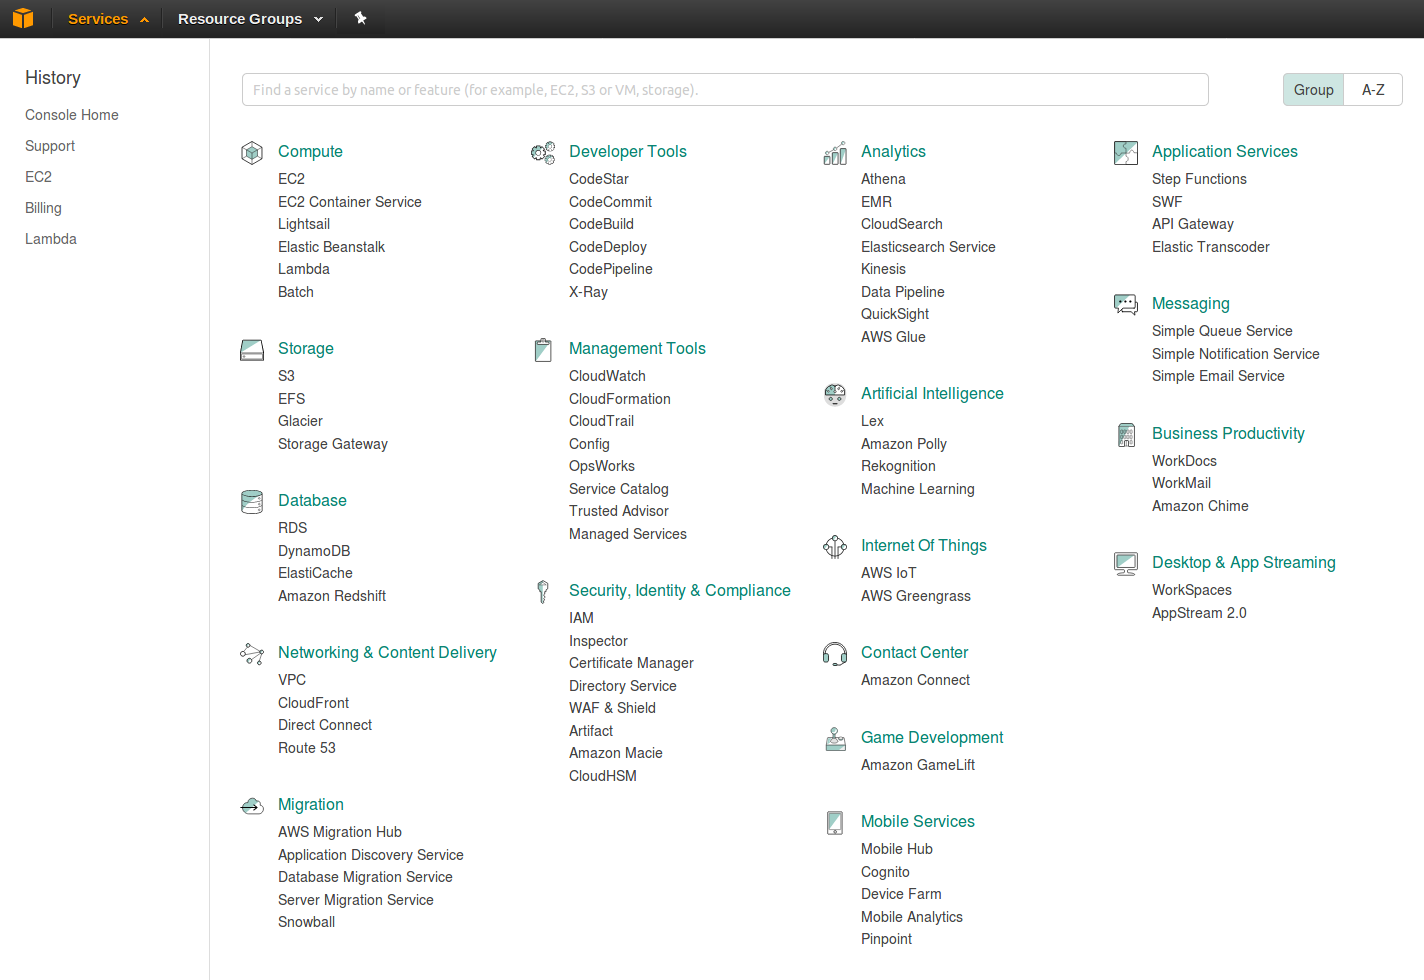
3. To start using Amazon EC2, click the Launch Instance button

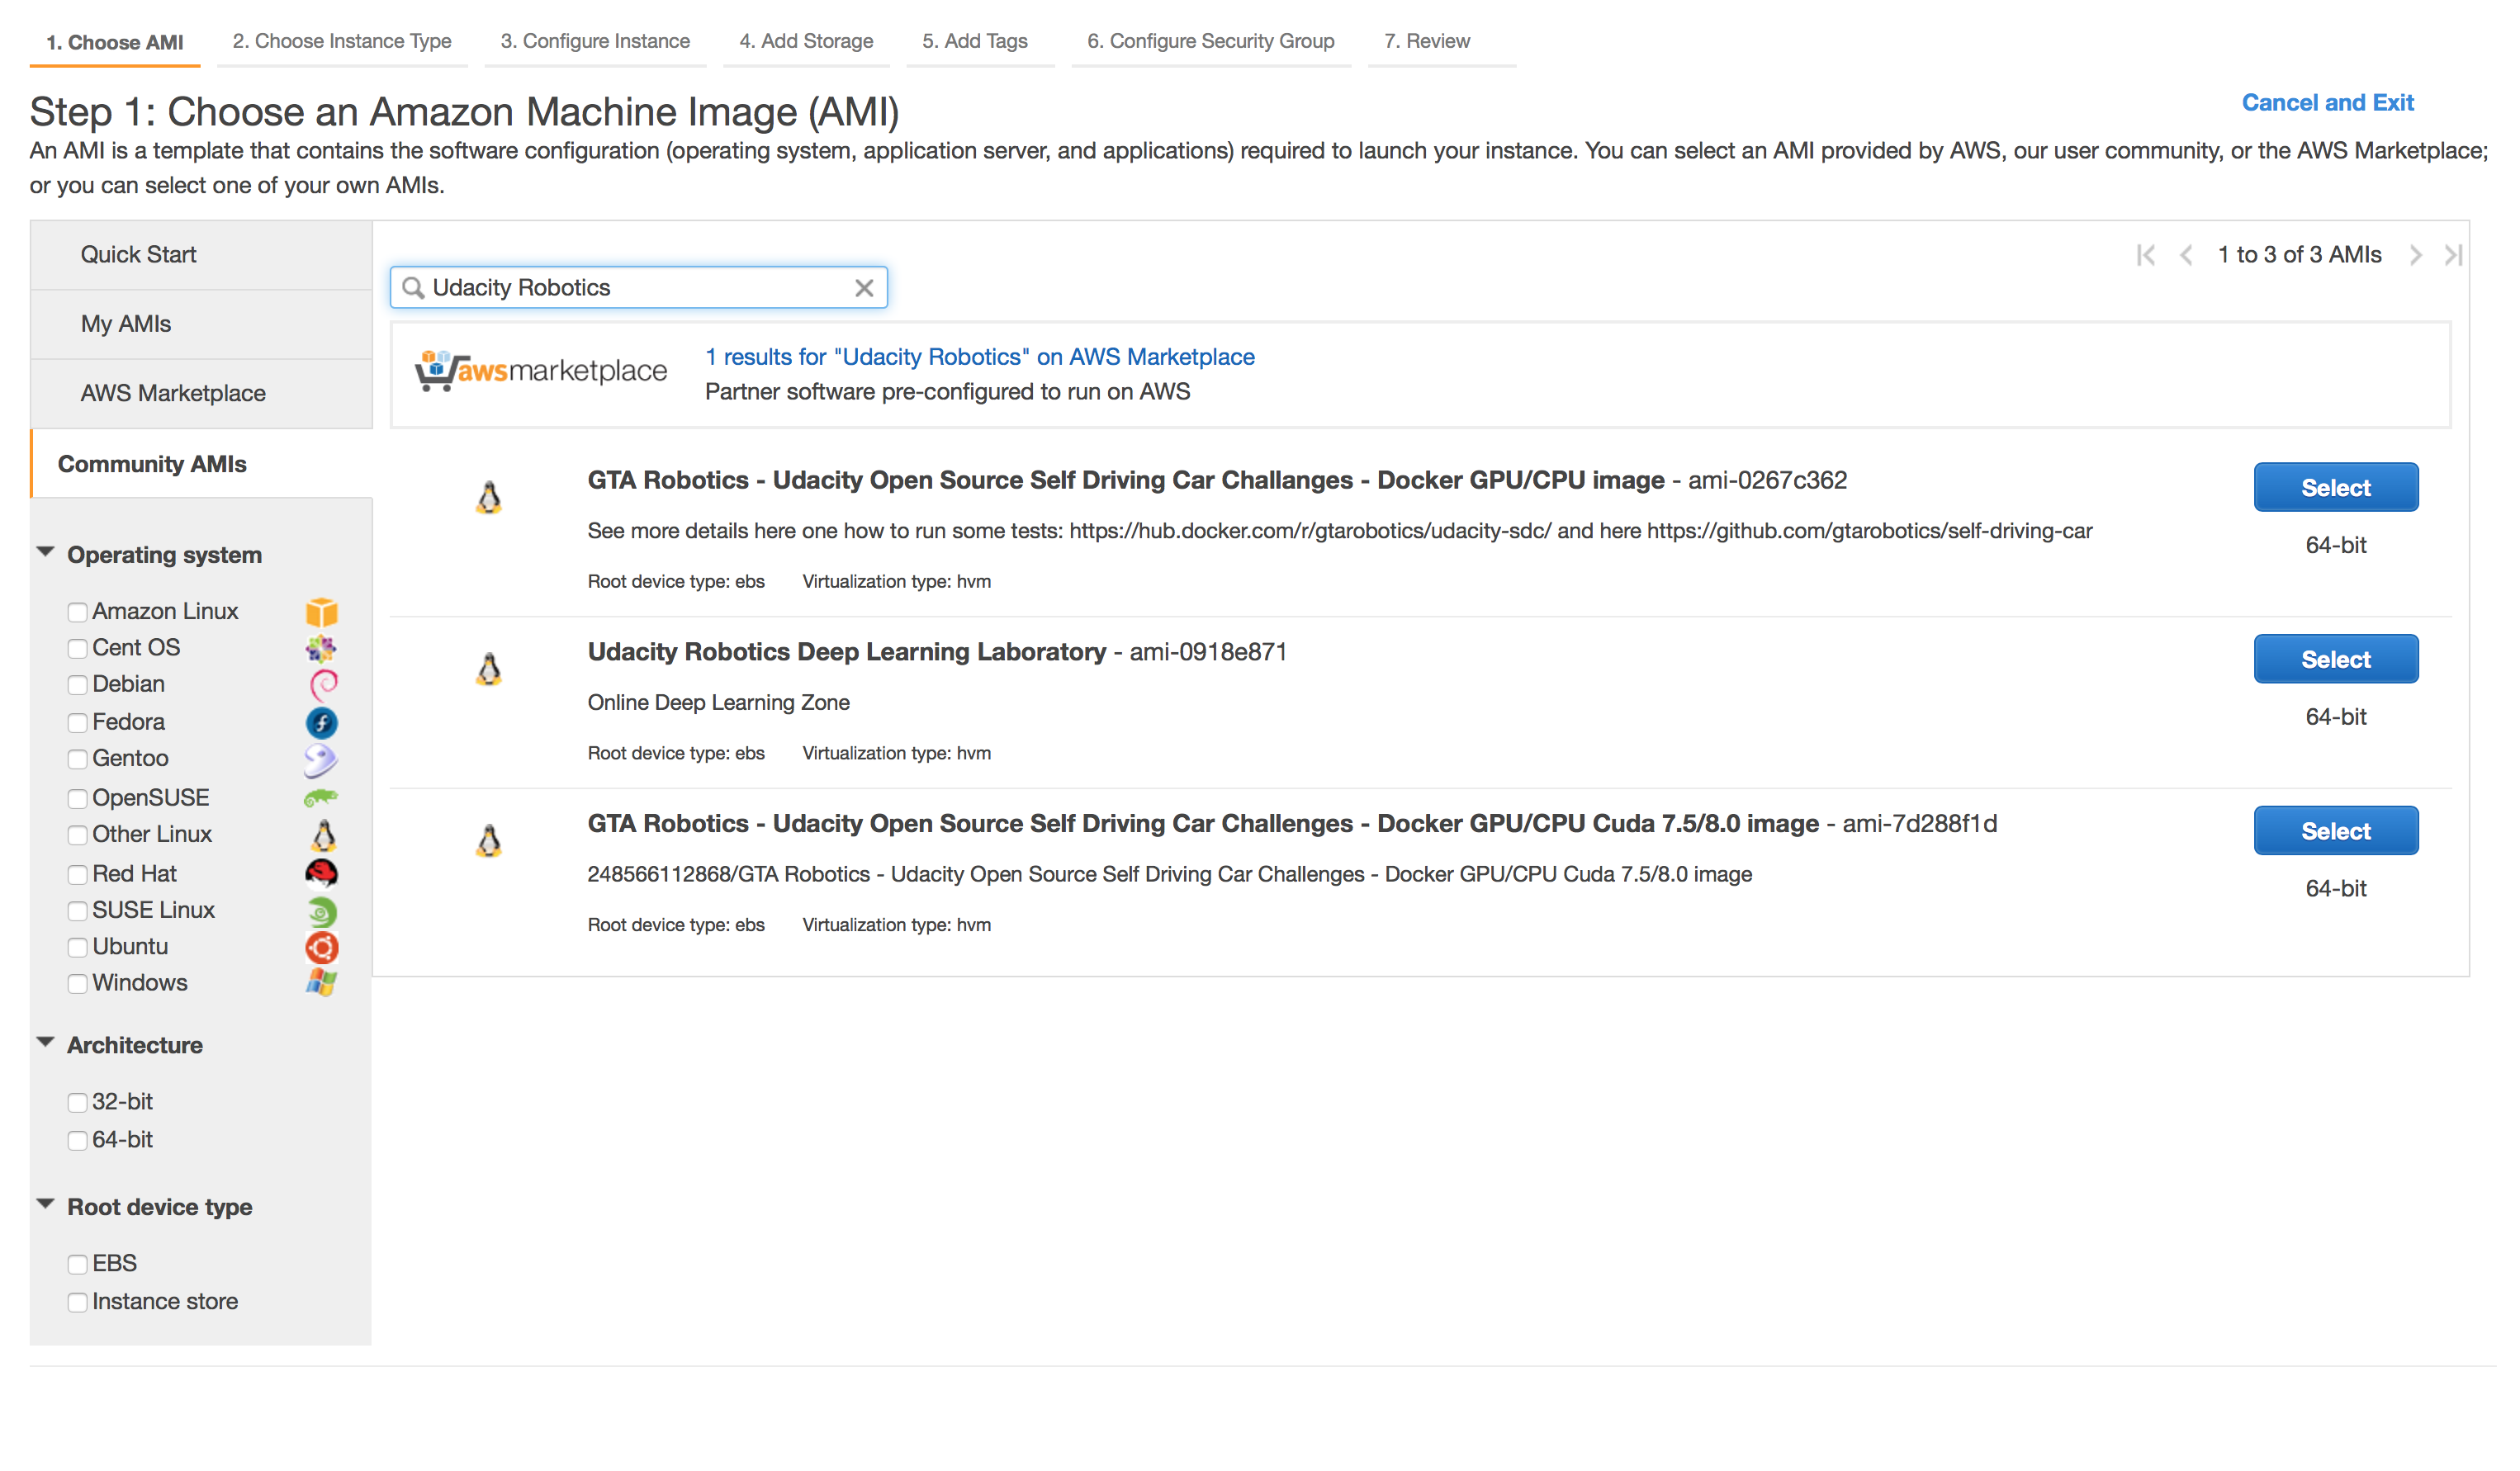
4. Select an AMI. An AMI (Amazon Machine Image), is a template that contains the software configuration (operating system, application server, and applications) required to launch your instance:
- Select community AMIs from the left side panel

- In the search box enter Udacity Robotics
- Click select for the AMI: Udacity Robotics Deep Learning Laboratory
- **Note: The AMI is available in the following regions: Oregon, North Virginia, Frankfurt, South America, Tokyo, Ohio, Seoul and Sydney. Also note that some regions may not cover p2.xlarge instances. If so, select another region. **
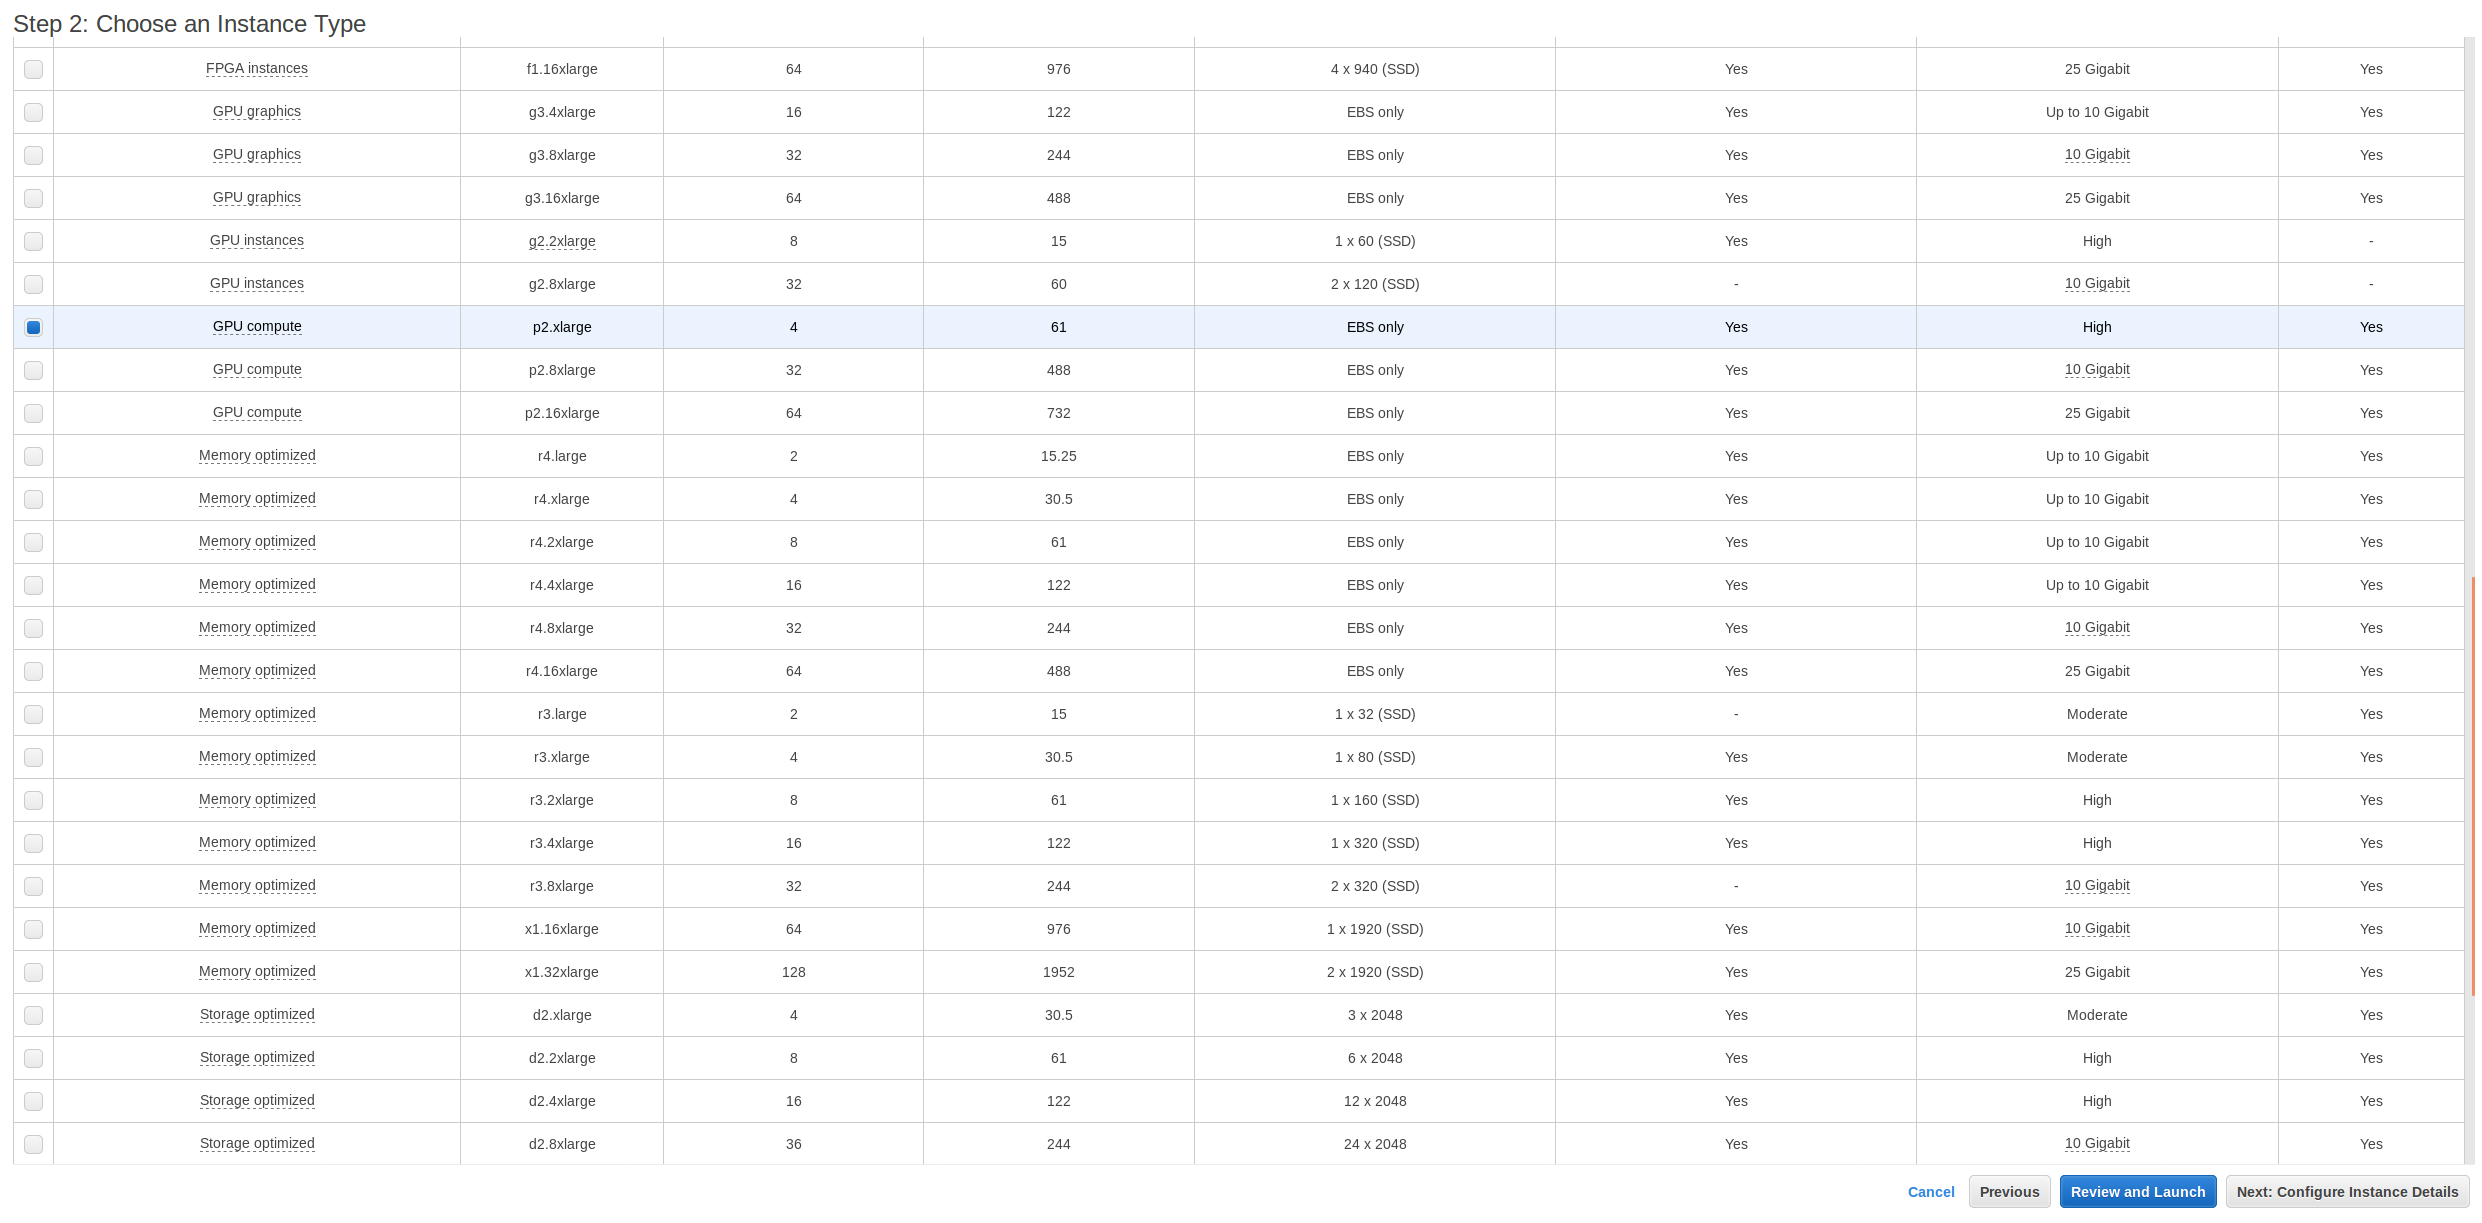
5. Choose Instance type: Select a p2.xlarge instance
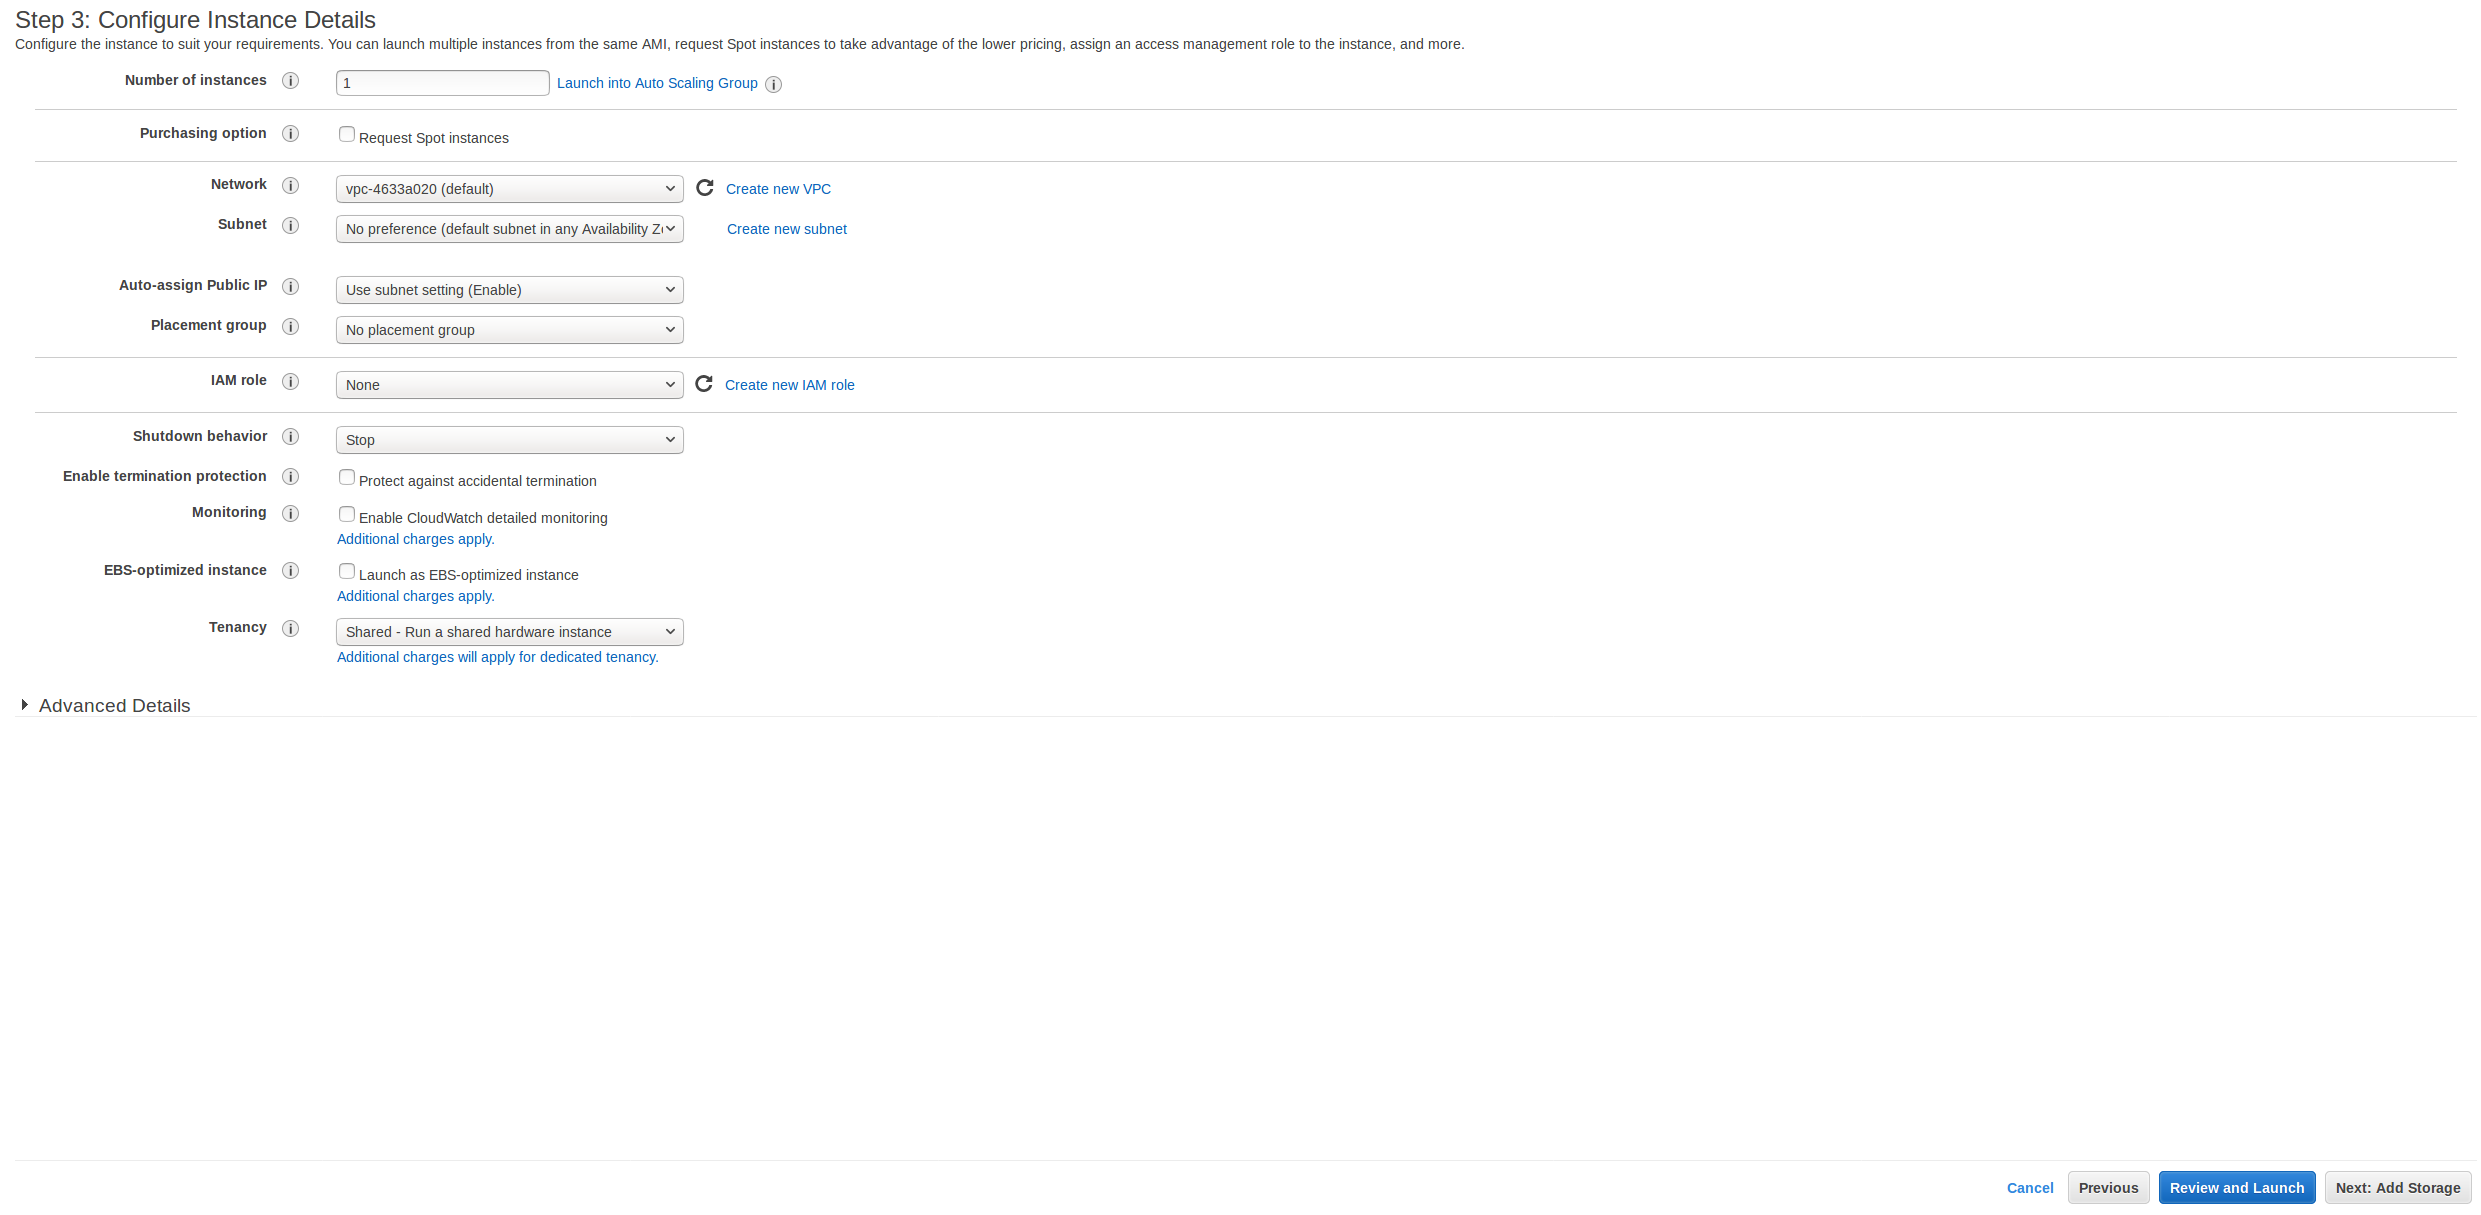
6. Configure Instance Details: These details can be left the same, click Next:Add Storage
7. Add Storage: If you would like to not have your data deleted between runs you can deselect Delete on Termination but keep in mind, this could potentially incur a small credit usage over time.

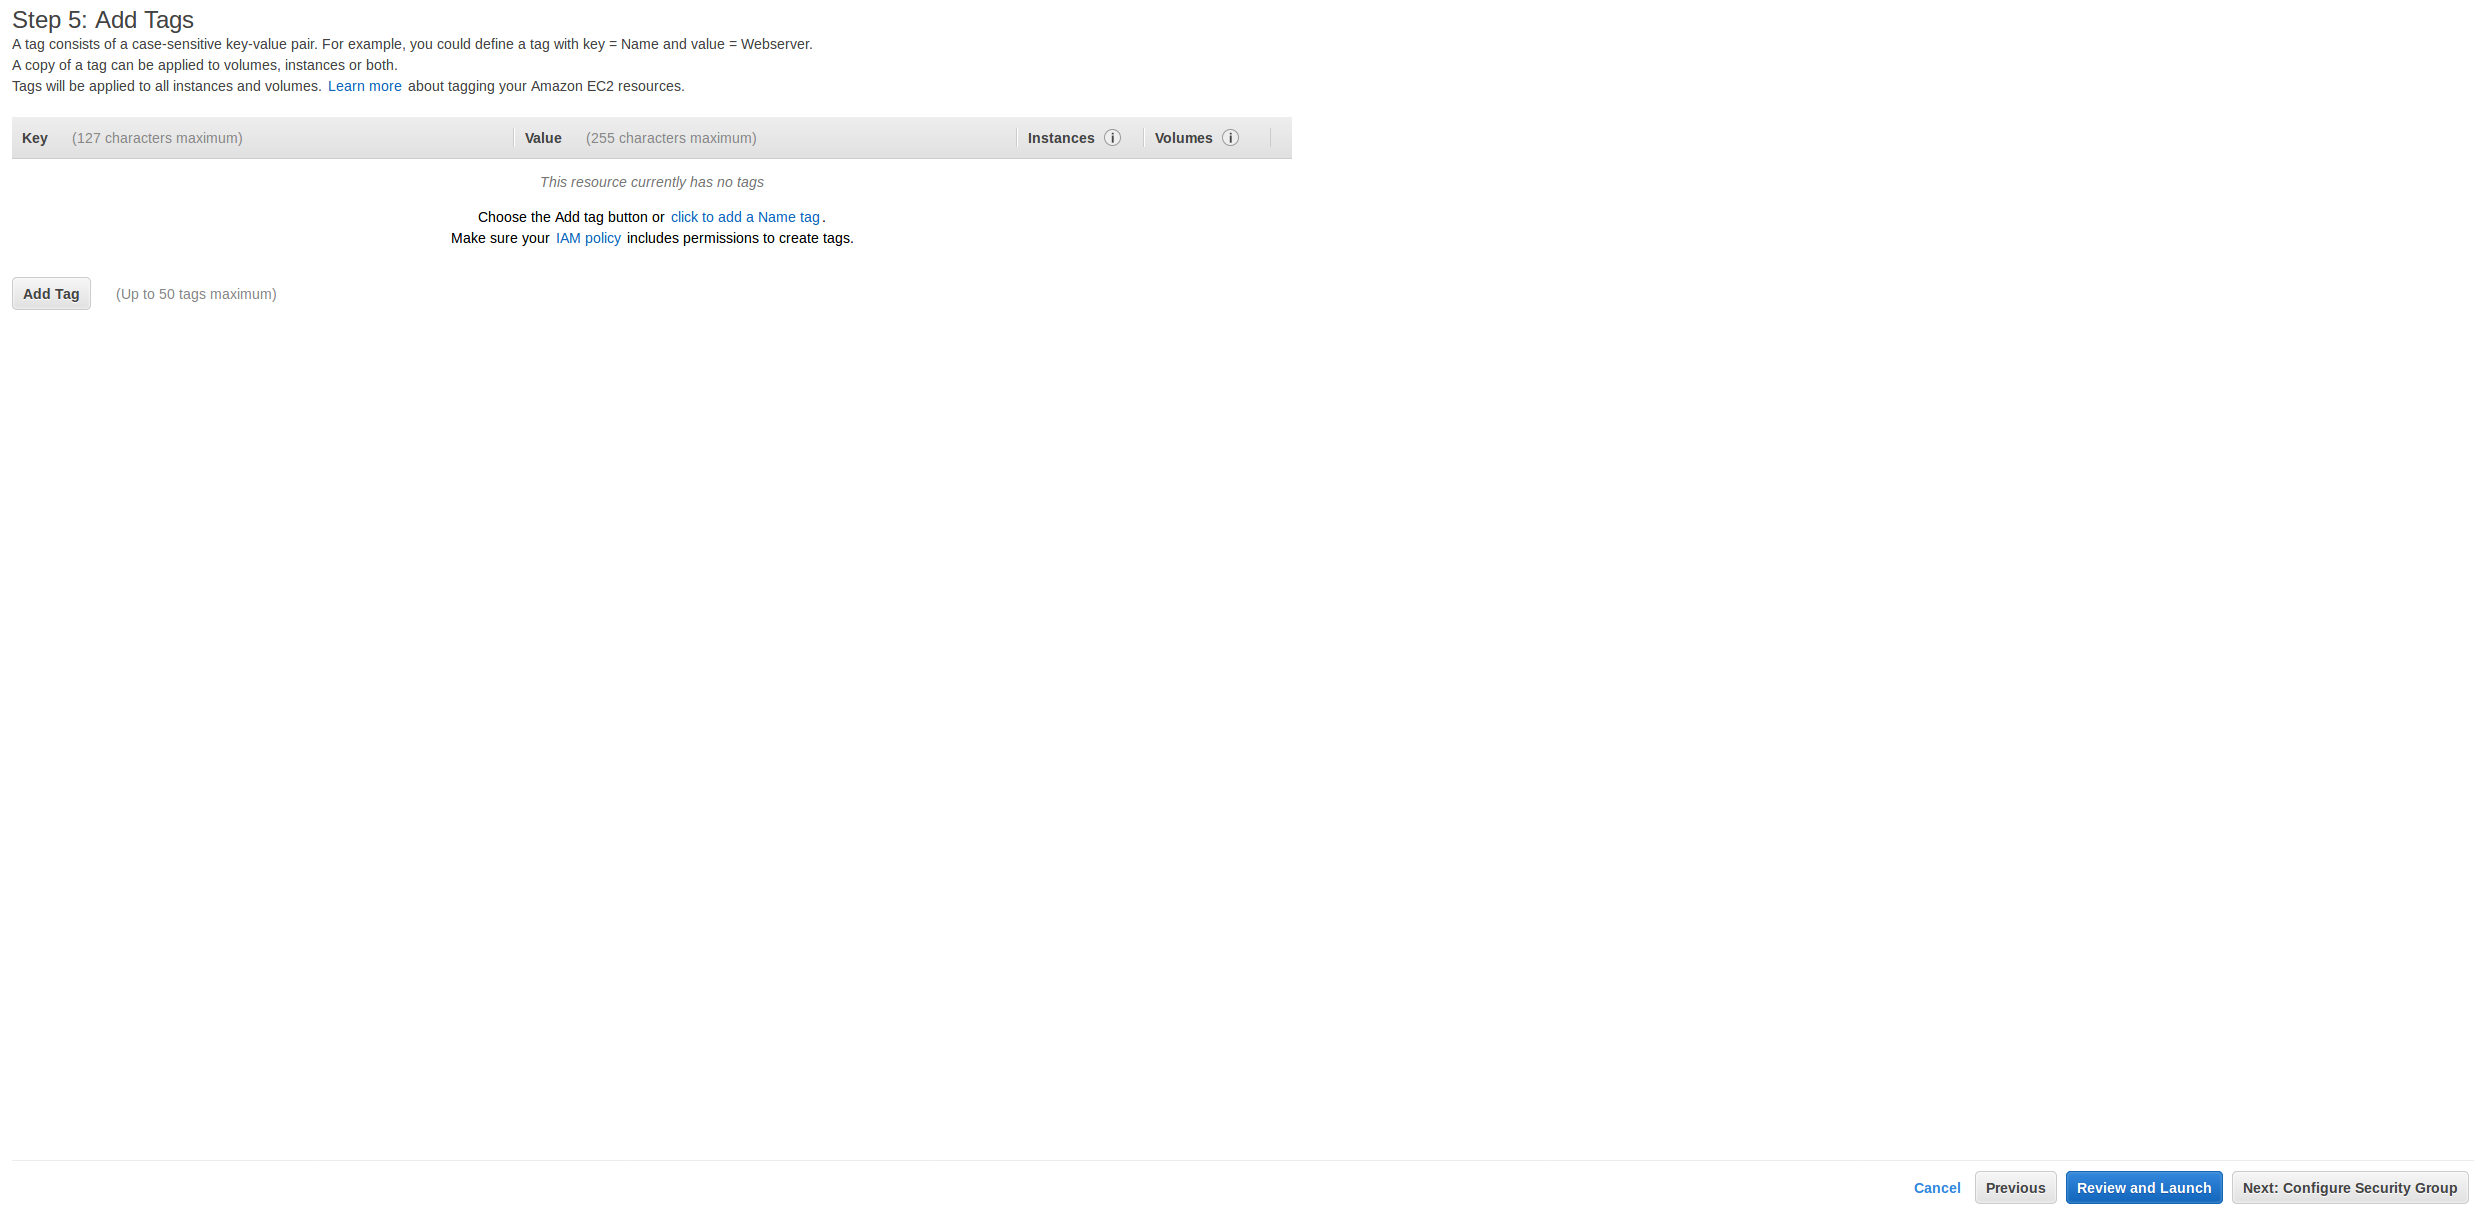
8. Add Tags: No changes to be made here
9. Configure Security Group: Select Create a new security group and from the drop down box under Source select My IP
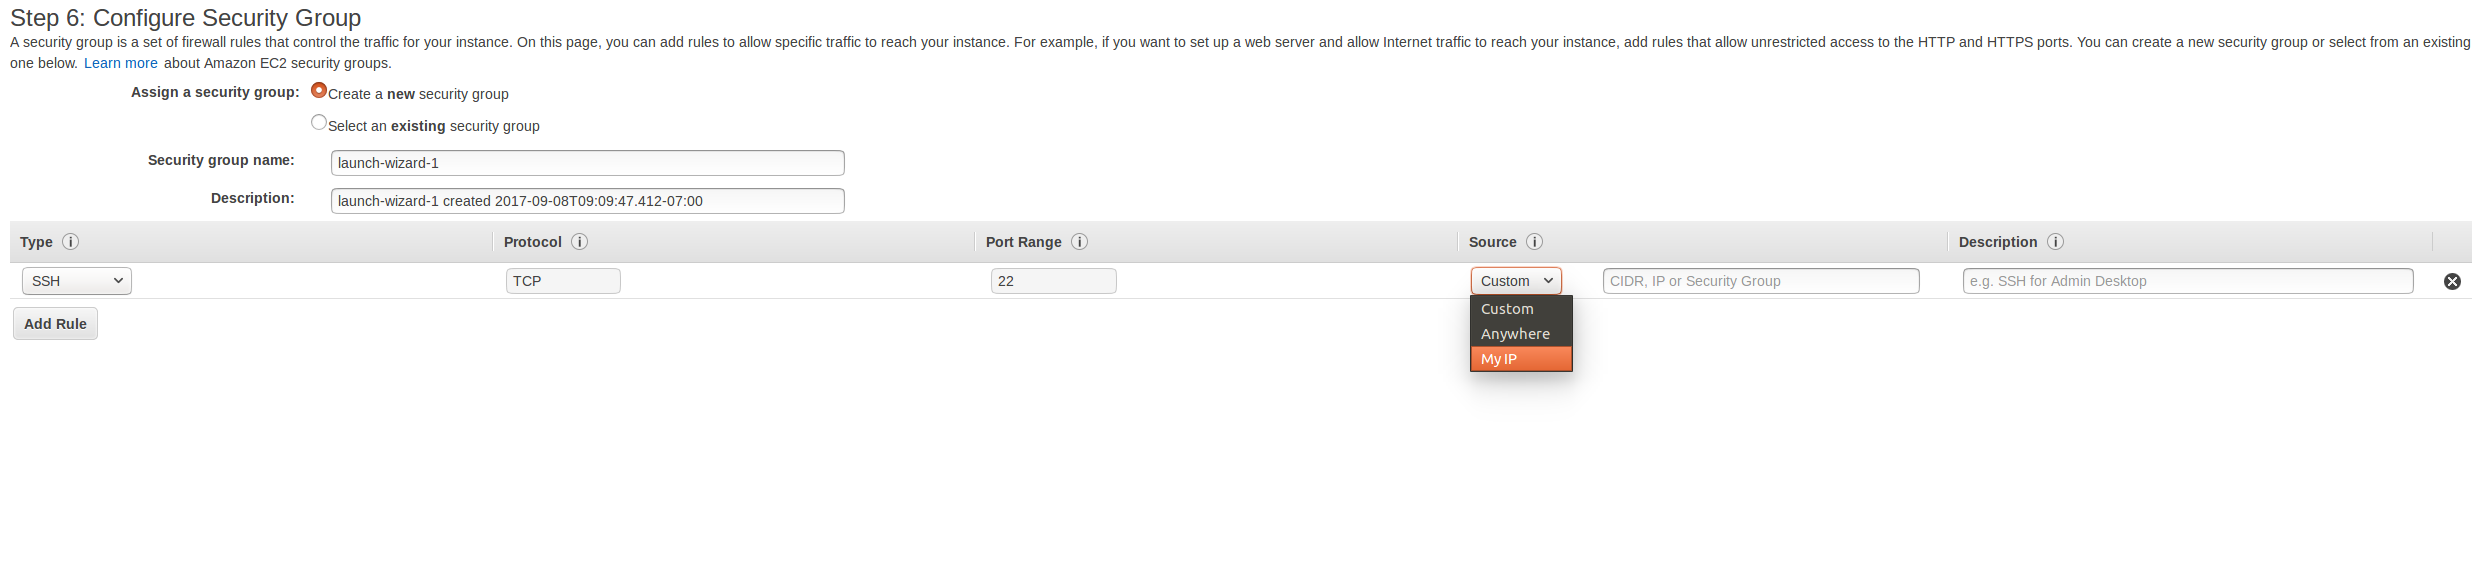
** Note: If you plan to connect a Jupyter notebook to your AWS instance you will need to add one connection rule. Specifically, you will need to add a custom TCP rule to allow port 8888. and set the source to My IP. As seen below. **

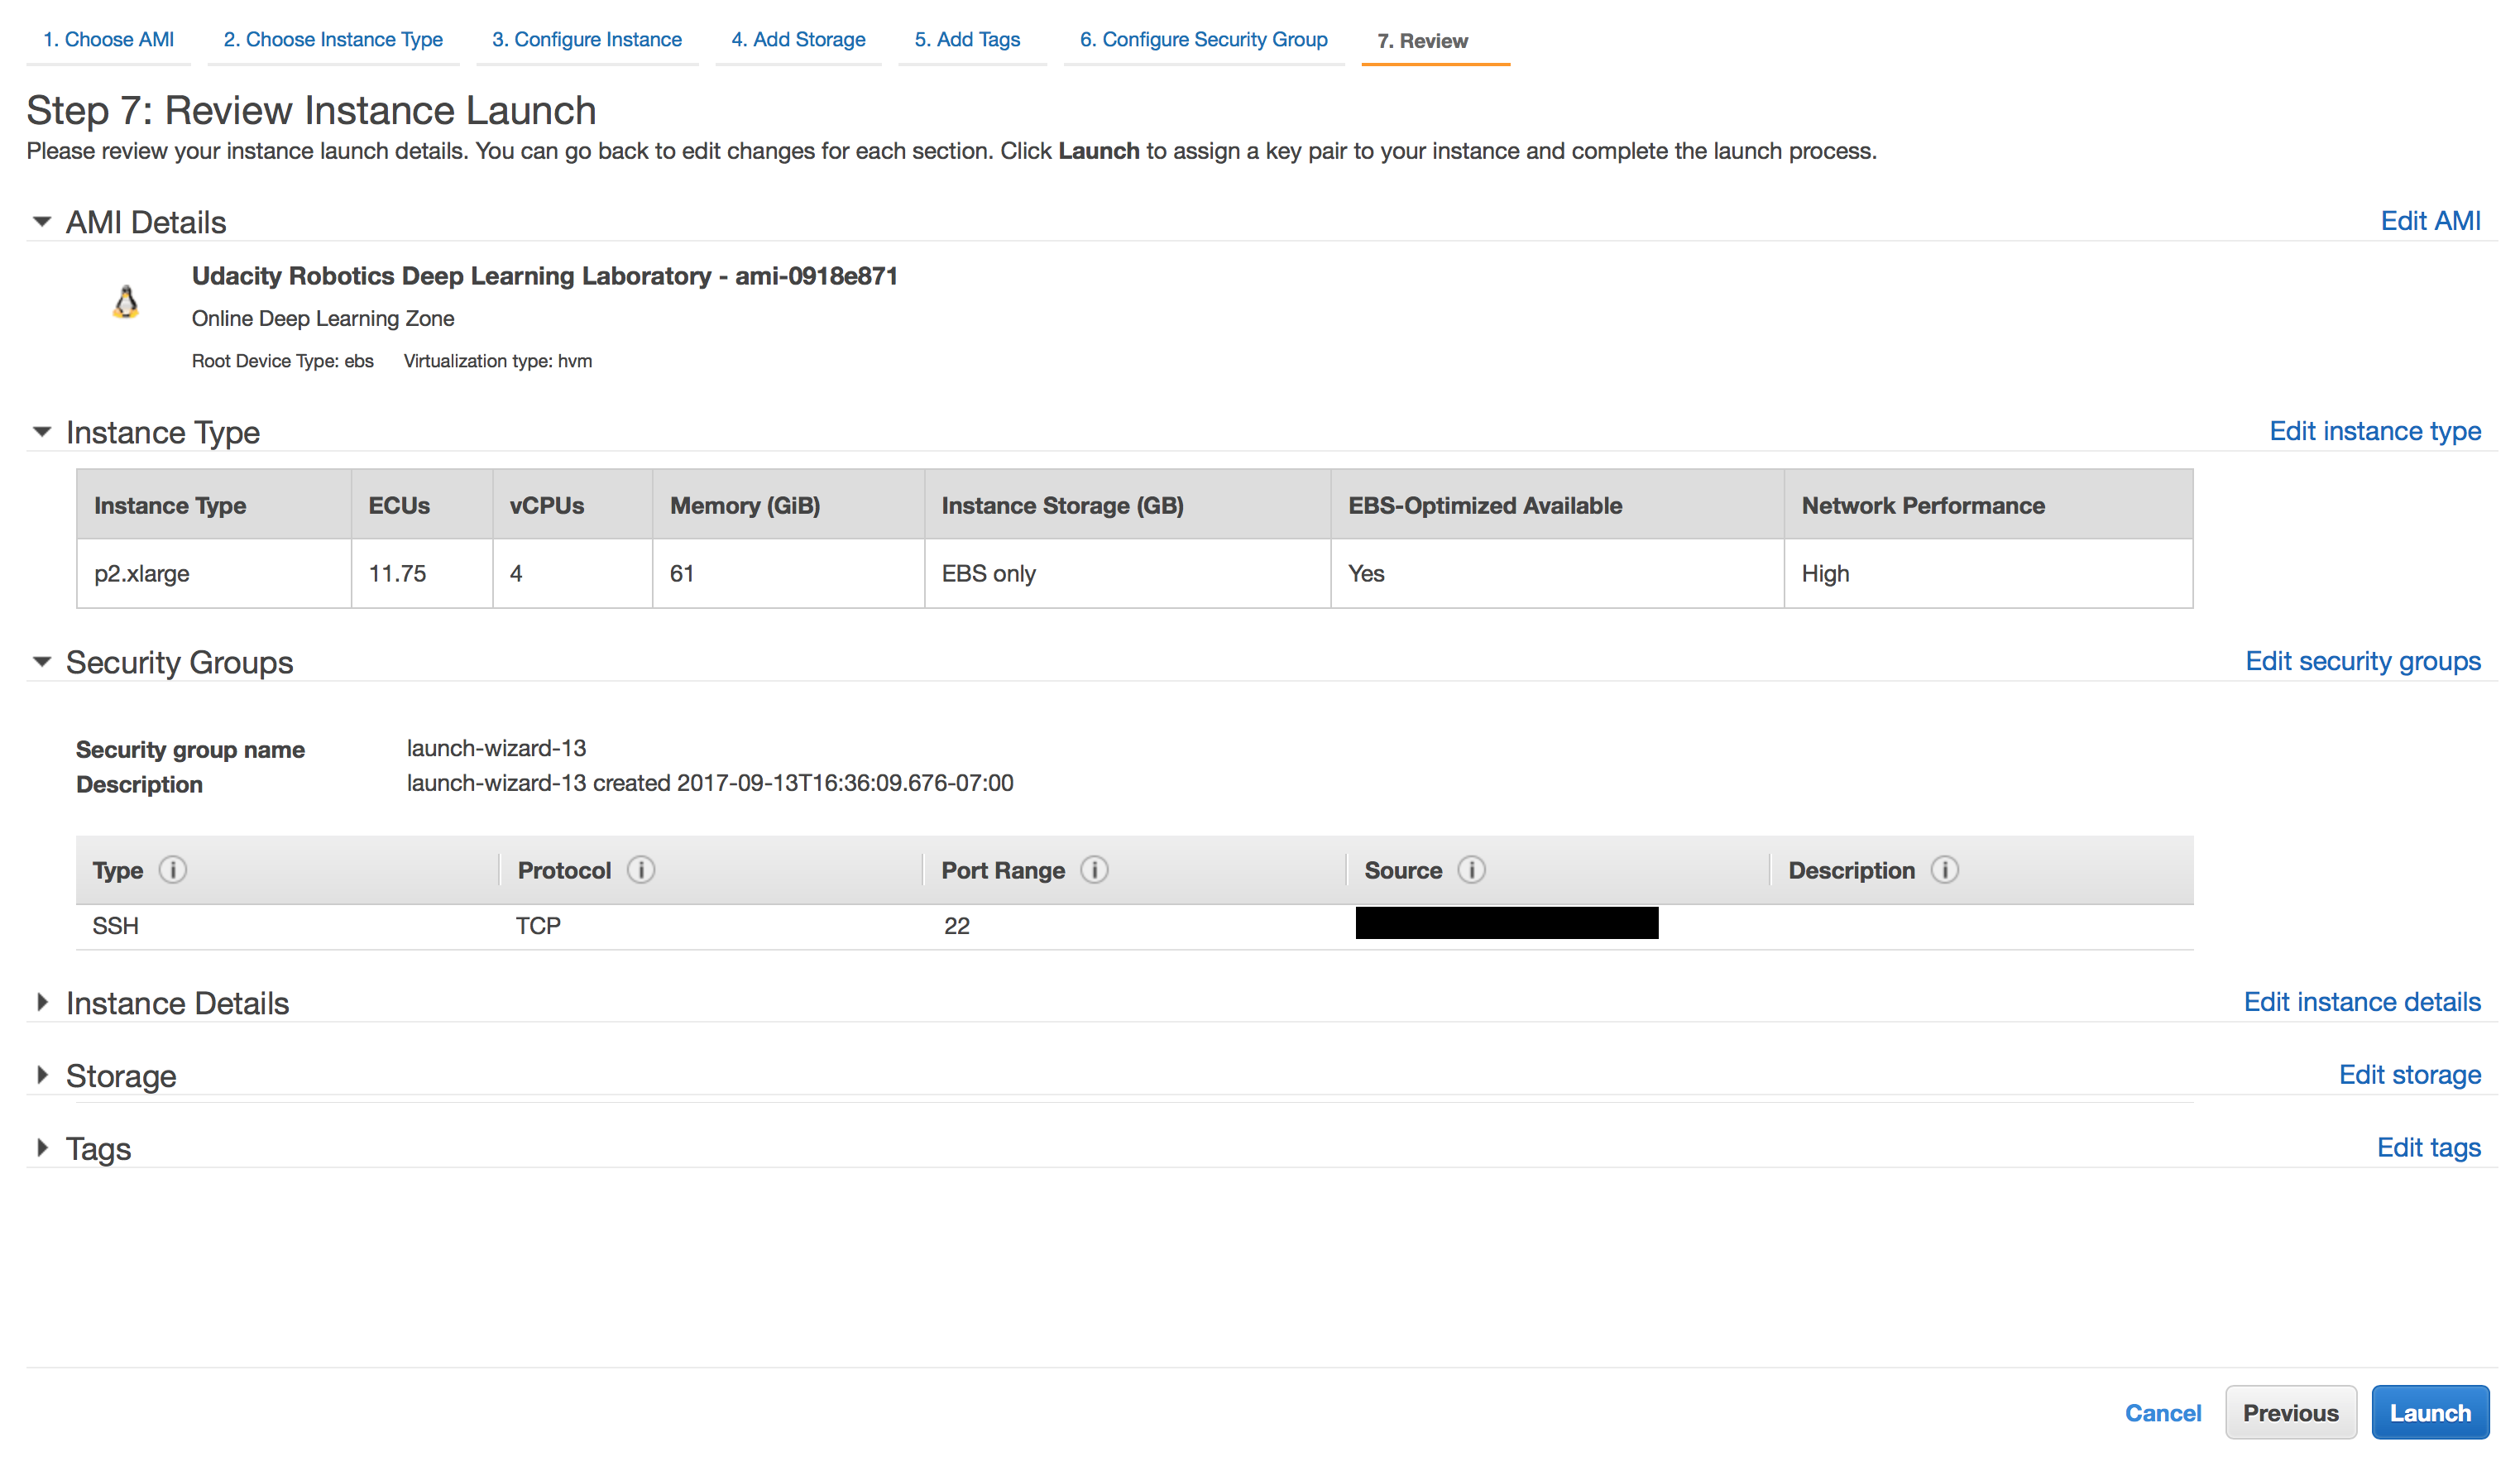
10. Click Review and Launch button in the lower-right corner
11. On the review page click Launch in the lower-right corner
12. Click the check box to select key pair, if you have not created a key pair you can create a new key pair right here
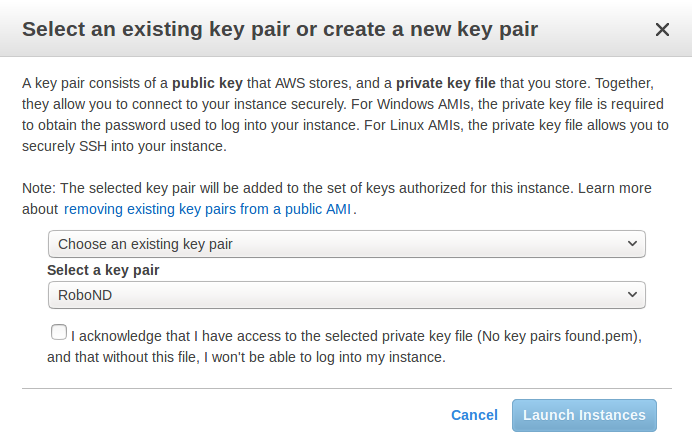
13. Finally click Launch instances
14. If you get an error saying you do not have any instances of the chosen type available, make sure your Limit Increase request has been approved.
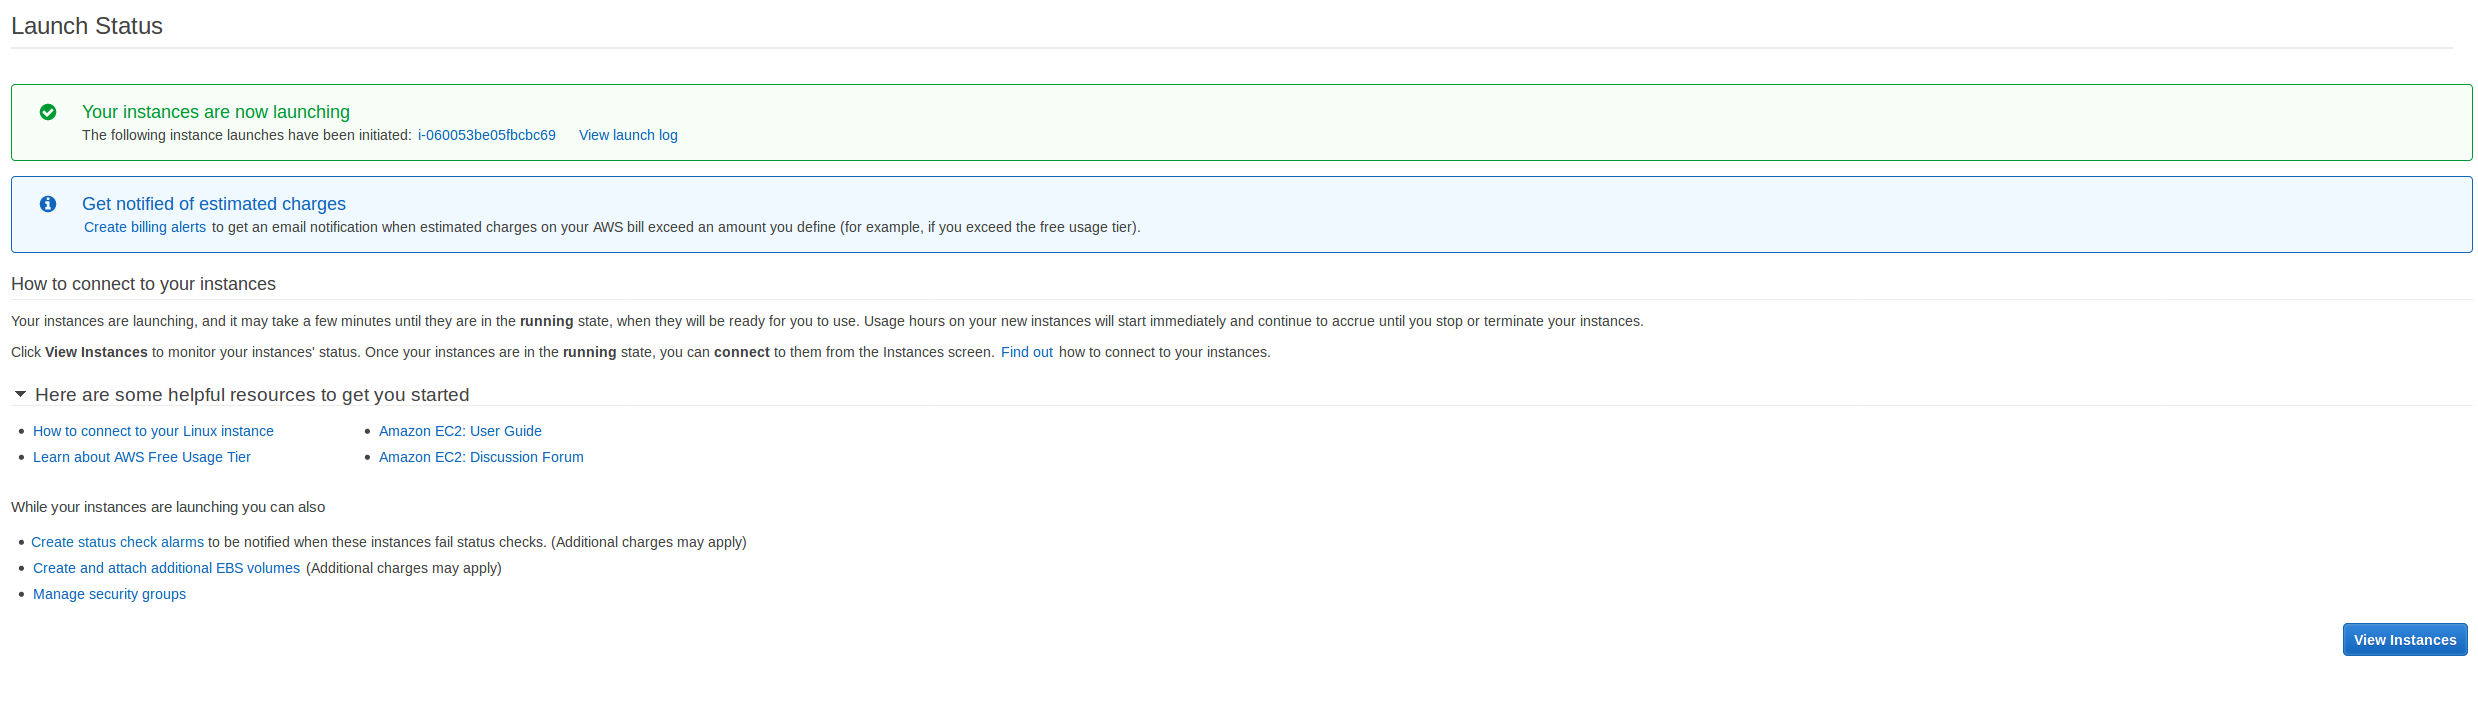
15. You may click View Instances to see the instance you just launched
Connecting to an EC2 Instance
1. At anytime you can access your EC2 Dashboard by selecting Services > EC2
2. To open a list of your EC2 instances Select Instances from the left side panel.
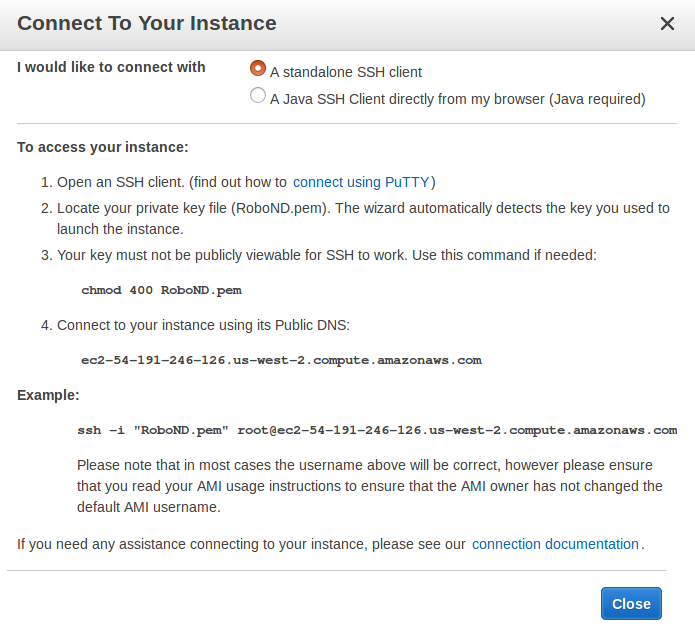
3. Now, select your instance from the Instances table and click the Connect button at the top of the screen.

4. Open a new terminal window on your system.
5. $cd to the location where you have stored your private key and change it's permissions
$ chmod 400 your_key.pem 6. Amazon provides you the ssh command to connect to your instance using its Public DNS. But you need to modify that command such that you are logging in as ubuntu and not root. For example if the suggestion from amazon is:
$ ssh -i "first_key_pair.pem" root@ec2-52-43-242-129.us-west-2.compute.amazonaws.comyou must change it to:
$ ssh -i "first_key_pair.pem" ubuntu@ec2-52-43-242-129.us-west-2.compute.amazonaws.com7. Note: Do not copy the above line into your terminal directly, copy the line in Connect to Your Instance dialog with above stated modification.
8. Type yes when asked if you want to connect. You should now have access to your EC2 instance within your active terminal.
Connecting to an EC2 Instance (Windows)
If you are trying to connect/ssh into your EC2 instance on a Windows machine, you can follow the detailed guide here - Connecting to Your Linux Instance from Windows Using PuTTY
Launching a Jupyter Notebook from your instance
So long as you have set up your security group as mentioned above for Jupyter notebooks there are only two steps needed to launch the notebook in your local browser.
1. In a terminal that is connected to your AWS instance run $ jupyter notebook --ip='*' --port=8888 --no-browser
2. Then open a local browser and enter public_ip:8888 where public_ip is the ip of your AWS instance.
From there the Jupyter notebook will launch in the browser. If it asks you for a token or password, look at the terminal in which you stated the Jupyter notebook and you can find the this line http://localhost:8888/?token=c94cca11b154c6c25f834e55837449c18fa65b2979043170 in which c94cca11b154c6c25f834e55837449c18fa65b2979043170 is the password to the notebook.
Disconnecting and Stopping an instance
- To simply disconnect from a connected instance. Type
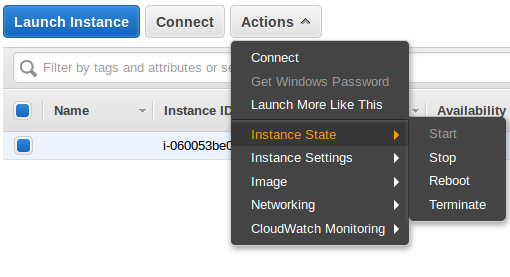
$exitin your active terminal. - If you are no longer using an instance and want to stop it temporarily, select your instance from the list then click Actions > Instance State > Stop
- Remember, when you stop an instance, it is shut down by AWS. You will not be charged hourly usage for a stopped instance but you will be charged for any Amazon EBS storage volumes. Each time you start a stopped instance you will be charged a full instance hour, even if you make this transition multiple times within a single hour.
- To avoid accumulating charges you should terminate your instance. Terminating your instance will result in losing all access, so it's better to make sure that you backup any code and data. You can do so by either transferring the files from AWS to your host computer, or by uploading the changes to your GitHub repo.
- More information on Starting & Stopping an instance can be found here